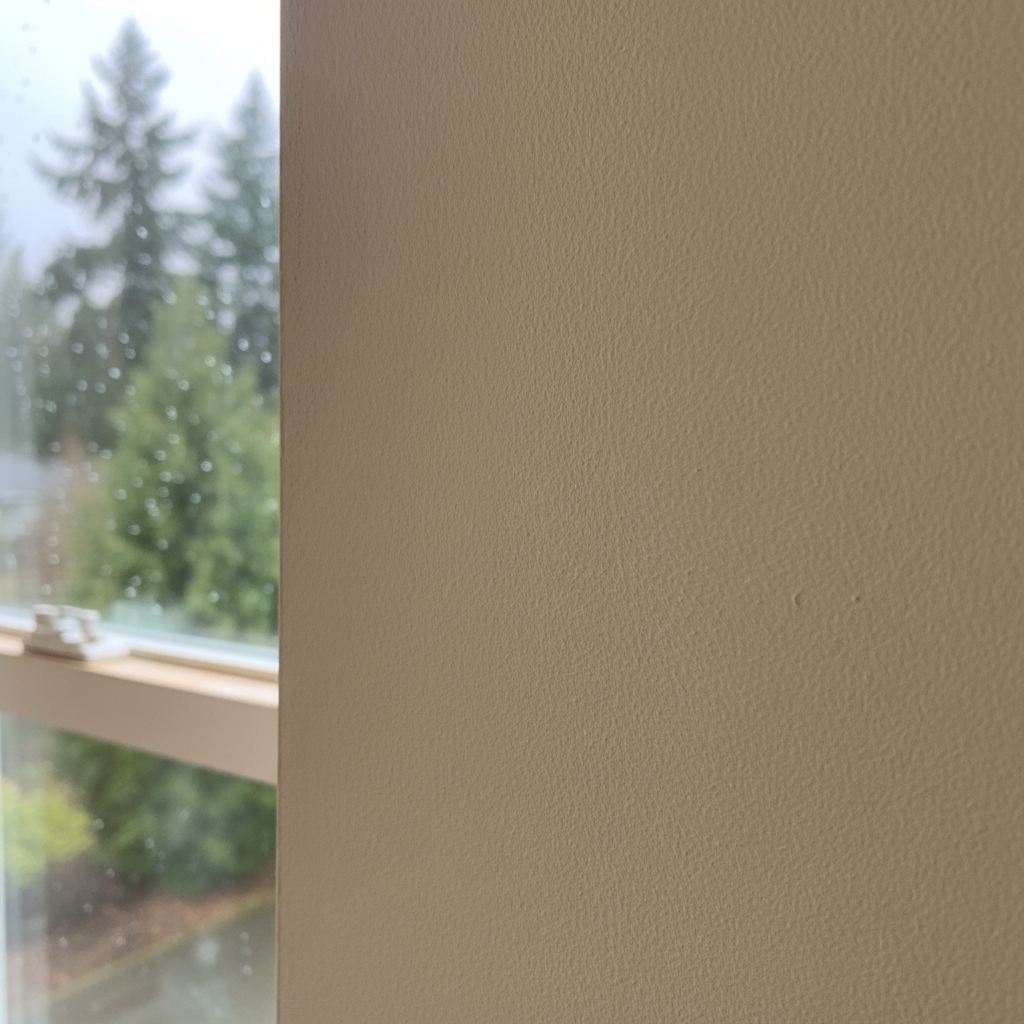
Alright, let's talk about drywall. Every homeowner eventually deals with it. Whether it's a ding from moving furniture, a hole from a doorknob, or just general wear and tear, drywall damage happens. And once that's fixed, you're probably thinking about paint. So, what can you realistically do yourself, and when should you just pick up the phone?
Assessing the Damage: DIY or Pro?
Before you even think about spackle, you gotta look at the damage. This is where you decide if you're grabbing a tiny tub of joint compound or calling someone like me.
- Small holes (nail pops, screw holes, minor dents): Absolutely DIY territory. These are easy. A little spackle, sand, prime, paint. You'll be done in an hour or two.
- Medium holes (up to 6 inches, say from a doorknob): Still often DIY. You'll need a drywall patch kit, which usually includes a mesh or metal patch, joint compound, and a small trowel. It's a bit more involved than a nail hole, but totally doable for most folks.
- Larger holes (bigger than 6 inches, or sections of damaged drywall): This is where it gets trickier. If you're cutting out a square section and inserting a new piece of drywall, you're dealing with cutting, screwing to studs (or adding blocking), taping, multiple coats of mud, and serious sanding. It's a skill. If you're not comfortable with precision cutting and getting a perfectly flat, seamless finish, this might be a job for a professional. Especially if it's in a highly visible area.
- Water damage or structural issues: Stop right there. If your drywall is soft, discolored, or crumbling due to water, you've got a bigger problem than just the drywall itself. You need to find and fix the water source first. Then, you'll likely need to replace a larger section of drywall, and there might be mold involved. This is definitely a job for a pro, and possibly other trades too. Don't mess with mold.
The Drywall Repair Process (for DIYers)
Let's say you've got a medium-sized hole and you're going to tackle it. Here's the basic rundown:
- Clean it up: Make sure there are no loose bits of drywall or paint around the hole.
- Apply the patch: For larger holes, you'll use a self-adhesive mesh patch or cut and screw in a new piece of drywall. For smaller holes, just fill directly with compound.
- First coat of joint compound (mud): Apply a thin, even layer of joint compound over the patch and slightly beyond its edges. Feather it out so it blends into the existing wall. Let it dry completely. This can take a few hours, or even overnight, depending on humidity.
- Sand lightly: Once dry, lightly sand with fine-grit sandpaper (150-220 grit) to smooth out any ridges. Don't over-sand and expose the patch.
- Second coat (and maybe third): Apply another thin coat, extending it a little further out than the first. Feather those edges. Let it dry. Repeat if necessary until it's perfectly smooth and flush with the wall. The key to good drywall repair is multiple thin coats, not one thick one.
- Final sanding: Once completely dry, do a final, light sanding. Use a bright light held at an angle to spot any imperfections. Wipe off all dust with a damp cloth.
Prepping for Paint: Don't Skip This!
You've got your perfectly smooth, repaired drywall. Great! Now, don't just slap paint on it. Prep is half the battle, especially in a place like Burien where our damp climate means you want a good seal.
- Clean the walls: Even if you think they're clean, they're probably not. Dust, grime, cooking grease, fingerprints – it all affects paint adhesion. Use a mild cleaner like TSP (trisodium phosphate) substitute or just warm water with a little dish soap. Rinse thoroughly and let dry completely.
- Tape off: Use painter's tape to protect trim, baseboards, and ceilings. Don't cheap out on tape; good quality tape makes a huge difference.
- Prime, prime, prime: This is crucial, especially over new drywall patches. New drywall and joint compound are very porous and will absorb paint unevenly, leading to